
 English
 Español
 Deutsch
 عربى
A useful request for quotation does more than ask for a unit price. It defines what a supplier must manufacture, inspect and deliver, giving purchasing and engineering teams a common basis for comparing proposals.
Two quotations for the same plastic part can differ because suppliers have assumed different resin grades, tooling configurations, surface finishes or inspection requirements. A lower price may cover an unfinished molded part, while another includes painting, assembly and protective packaging.
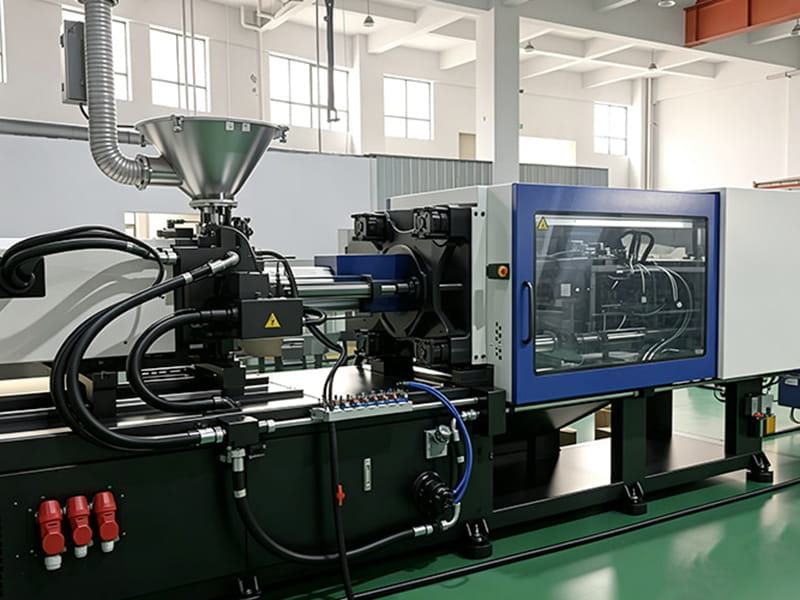
For OEM buyers, a clear RFQ reduces these gaps before tooling begins. The following information helps a manufacturer evaluate feasibility, identify missing requirements and prepare a quotation that reflects the intended production project.
1. Define the Application and Supply Scope
Explain where the component will be used and what it must do. An automotive trim panel, robot controller housing and appliance support bracket present different functional and appearance priorities. Identify whether the part is visible, load-bearing or connected to other components.
State whether the project involves a new design, replacement tooling or transfer of an existing mold. Then define the required supply scope: mold making, injection molding, spray painting, inspection, assembly and packaging. If assembly is included, identify who supplies purchased items such as screws, inserts and pads.
For a transferred mold, provide available tool drawings, operating history and maintenance records so the supplier can assess machine compatibility and any adaptation work.
2. Submit Design Files with Clear Revision Control
Provide a 3D model and a 2D engineering drawing where available. The model communicates geometry for tooling review, while the drawing defines tolerances, datums, materials and other acceptance requirements. Include the part number, revision and measurement units.
For projects containing several parts, attach a parts list showing the quantity of each component per assembly. Make sure every supplier receives the same revision. If the model and drawing differ, resolve the conflict before tooling approval.
A sample or sketch can support an initial discussion, but identify any reverse engineering or design work required. Separate reference dimensions from requirements that will determine acceptance.
3. Specify the Material or Describe the Service Conditions
When material selection is complete, list the resin manufacturer, grade and reinforcement content. Labels such as ABS, PC or PP alone leave room for different assumptions about properties, processing and cost. Specify the color and any restrictions on recycled content or production regrind.
If the material is undecided, describe operating temperature, outdoor exposure, impact, loading and contact with cleaning agents or other chemicals. Include applicable flammability, restricted-substance or customer-specific requirements, together with the evidence needed to demonstrate compliance.
Ask suppliers to identify proposed alternatives separately. Substitutions should follow an agreed approval process rather than becoming an unstated quotation assumption.
4. Mark Critical Dimensions and Assembly Interfaces
Highlight the features that control fit and function: mounting holes, locating faces, snap connections, screw bosses and mating edges. Supply mating-part models or assembly drawings when a component must fit around electronics, metal structures or another plastic part.
Define relevant flatness, warpage and clearance requirements, including how the part will be supported during measurement. A broad cover measured freely may behave differently when attached to its mounting points.
Avoid assigning unnecessarily tight tolerances to every feature. Prioritize functional dimensions and discuss achievable limits during design review. For painted mating surfaces, clarify whether the specified dimensions apply before or after coating.
5. Define Appearance and Spray Painting Requirements
State whether the component uses molded-in color, post-molding paint or both. Identify visible surfaces and provide the required color, gloss, texture and reference sample. A color code alone does not define the complete appearance of a finished component.
Mark coating boundaries and areas requiring masking, such as locating holes, electrical interfaces or close-fitting connections. Identify acceptable locations for gates, ejector marks and parting lines, particularly on appearance parts.
Where coating performance matters, specify the relevant adhesion, wear or chemical-resistance test and its acceptance criteria. Agree on viewing conditions and an approved appearance sample. This gives production inspection a clearer reference than descriptions such as “high-quality finish.”
Include sample quantities, the first production order, typical release quantities and an estimated annual demand. Distinguish forecasts from committed purchases. These figures help suppliers evaluate tooling investment, production scheduling and unit pricing.
If tool life or cavity count is specified, state the requirement. Otherwise, request a proposed tooling configuration with its assumptions. A lower-volume project and a sustained production program may justify different approaches.
Clarify mold ownership, storage, maintenance responsibilities and transfer conditions. Where tool life is quoted, agree on the operating and maintenance assumptions and what constitutes the stated life.
7. Agree on Sampling, Inspection and Approval
List the required trial samples, dimensional reports, material documentation and functional checks. Explain whether approval depends on assembly testing, appearance confirmation or customer validation. Identify any special gauges or fixtures and who will provide them.
For automotive projects requiring PPAP, specify the required submission scope and customer expectations. Do not assume that every quotation includes the same documentation or testing package.
Agree on responsibility for sample approval and production release. Record how design, material, tooling and process changes will be reviewed. Separate routine inspection from additional testing so each supplier can price the same deliverables.
8. Include Packaging, Delivery and Quotation Details
Describe protection needed against scratching, contamination or deformation. Large panels may need support during transport, while painted parts may require individual separation. Include labeling, batch identification and any requirements for sets or assembled deliveries.
Provide the delivery destination, requested trade term and target schedule. Ask suppliers to distinguish tooling lead time, sample approval time and production lead time rather than presenting one unexplained delivery estimate.
Request separate costs for tooling, molded parts, painting, assembly, special inspection and packaging where applicable. The quotation should state its currency, validity, payment terms, assumptions and exclusions.
When comparing responses, check the scope before comparing totals. Confirm that each supplier has priced the same drawing revision, material, order quantity and approval package. Record any proposed design changes or alternative tooling arrangements separately, together with their effect on cost and timing. This makes it easier to distinguish a useful manufacturing recommendation from a quotation that simply omits a requirement.
A Practical RFQ Checklist
| RFQ item | Information to include |
|---|---|
| Project scope | Application, development stage and required manufacturing operations |
| Design files | 3D model, 2D drawing, part number, revision and assembly information |
| Material | Specified resin grade or operating conditions for material review |
| Function and appearance | Critical dimensions, mating interfaces, color, texture and coating requirements |
| Volume and tooling | Sample quantity, order sizes, forecast, tool expectations and ownership |
| Quality approval | Reports, tests, reference samples and production release responsibilities |
| Commercial conditions | Packaging, destination, schedule, trade term and quotation breakdown |
What If Your RFQ Is Not Complete Yet?
You do not need every decision finalized to start a manufacturing discussion. Send the available drawings or sample photographs, intended use and preliminary quantities. Clearly label open questions and ask the supplier to list missing information and quotation assumptions.
An initial budget estimate can help compare options, while a production quotation should reflect the approved design and agreed scope. Keeping these stages distinct makes later price changes easier to understand.
For projects combining tooling, molding, painting and assembly, Kaidi can review the available part information across these stages. Share your current project files and required deliverables to begin defining the manufacturing scope.